
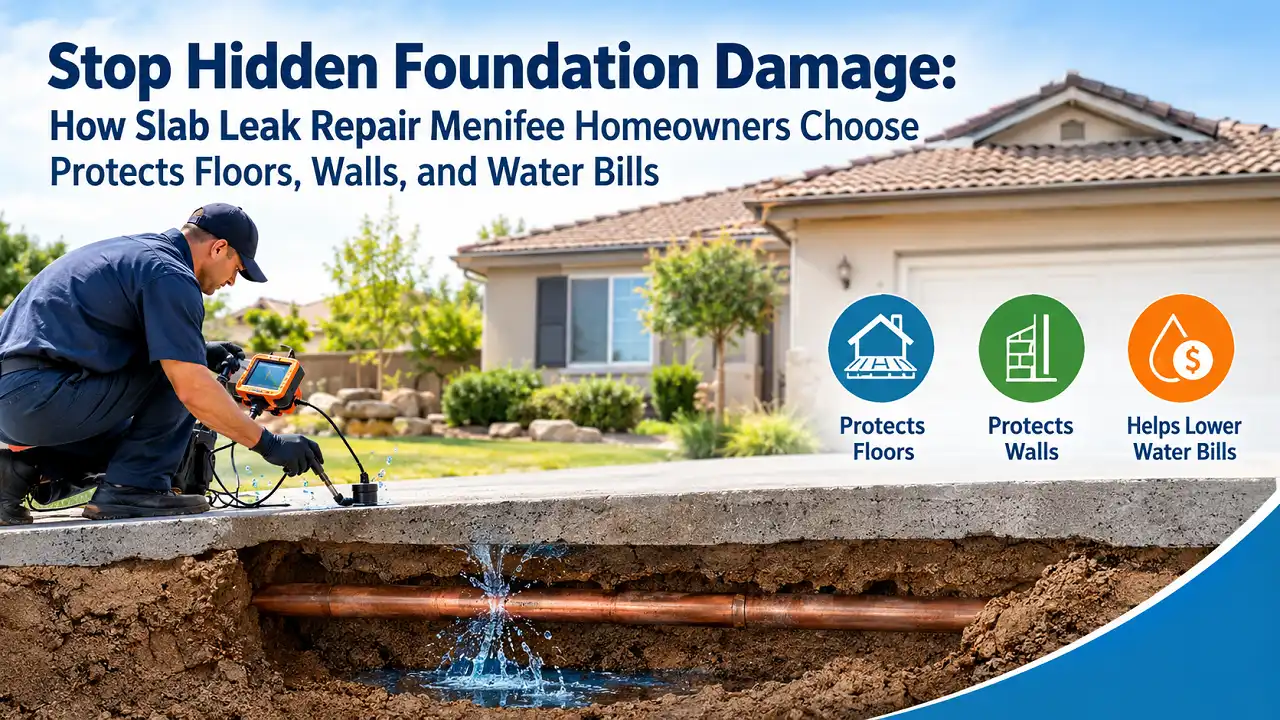
Stop Hidden Foundation Damage: How Slab Leak Repair Menifee Homeowners Choose Protects Floors, Walls, and Water Bills
A pinhole in a copper line under your concrete can leak hundreds of gallons a day without leaving a single puddle. By the time you see warm tile, a lifting floorboard, or a water bill spike, the water may have been soaking soil and subflooring for weeks. Smart slab leak repair Menifee homeowners can rely on is about more than fixing one pipe. It means finding the leak precisely, choosing the least destructive repair, and drying the structure before mold and flooring damage add to the bill. The pipe is cheap. Reaching it is what costs money.
Key Takeaways
- Confirm before you cut. A moving water meter during a no-use period is the most reliable first sign. Professional detection can narrow most leaks to within about three feet.
- Spot repair isn’t always cheapest long term. If your copper has failed once, a reroute or partial repipe often prevents a second round of floor demolition.
- Plumbing repair doesn’t dry your home. Budget for drying and build-back separately. Most homeowners policies treat the pipe, the access, and the water damage as different items.
If water is spreading or flooring is lifting right now, shut off your main valve and call our emergency plumbing services line at (844) 611-2779.
Why Menifee Homes Are Vulnerable to Slab Leaks
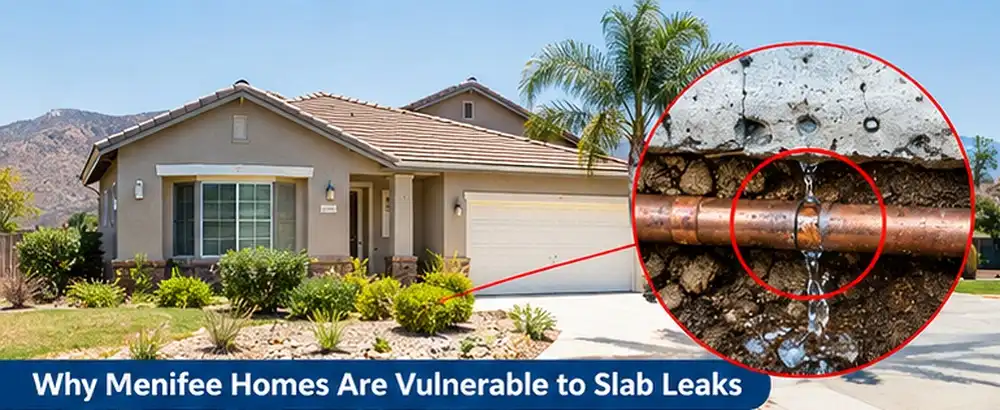
Most homes in Menifee sit on concrete slab foundations. Many neighborhoods built from the 1980s through the early 2000s ran soft copper water lines directly under that slab. Older Sun City area homes are even older. Add expansive soil, hard water, and high water pressure, and you get a steady stream of slab failures.
Our plumbers frequently see the same failure pattern in older NJ homes: copper thinning from the inside out until a pinhole opens. The cause differs (freeze cycles back East, mineral scale and soil movement out West), but the end result under a slab looks remarkably similar.
| Risk Factor | Why It Matters in Menifee | What It Does to Pipes |
|---|---|---|
| Expansive/shifting soil | Clay soils swell with irrigation and shrink in dry spells | Stresses pipes against concrete and rebar |
| Aging copper lines | Many 1980s to 2000s homes used soft copper under the slab | Thin walls wear through over decades |
| Hard water | High mineral content in Southern Riverside County supply | Scale and corrosion at bends and fittings |
| High water pressure | Some areas exceed 80 PSI without a working regulator | Accelerates pinholes and joint failure |
| Hot water lines | Heat expands copper daily | Most slab leaks occur on the hot side |
| Abrasion | Pipe rubbing on gravel, rebar, or concrete edges | Wears through pipe at contact points |
What this means for you: a home with original copper, no pressure regulator, and hard water carries real risk. Planning ahead for slab leak repair menifee options before an emergency gives you more choices and better pricing.
Warning Signs of a Slab Leak
No single symptom proves a slab leak. A combination of signs builds the case.
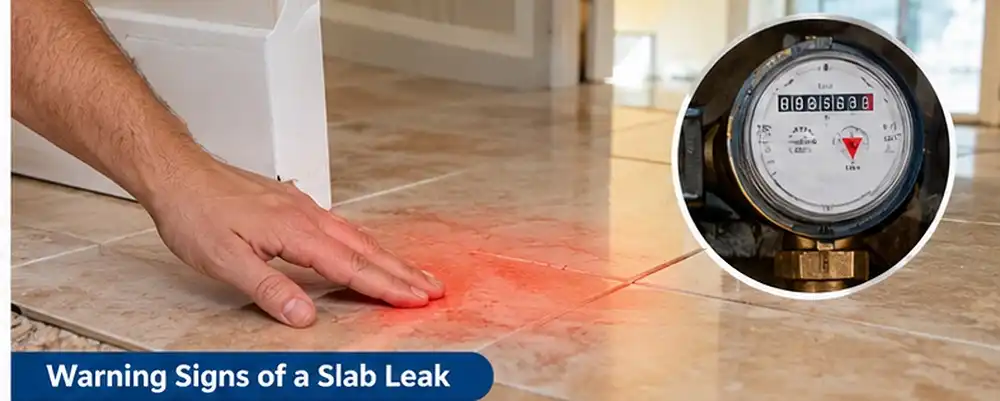
Here’s what we look for and how urgent each one is.
| Warning Sign | What It Usually Means | Urgency |
|---|---|---|
| Water meter moving with all fixtures off | Active pressurized leak somewhere | High |
| Warm or hot spot on tile or concrete | Likely hot water line leak under slab | High |
| Sound of running water when nothing is on | Pressurized leak in wall or slab | High |
| Sudden spike in water bill | Continuous leak or irrigation issue | Medium to High |
| Water heater running constantly | Hot water escaping through a slab line | High |
| Damp carpet, lifting tile, or cupped hardwood | Water wicking up through slab | High |
| Musty odors or mold at baseboards | Long-term moisture | Medium to High |
| New cracks in walls or flooring | Possible soil movement from leaking water | Medium |
| Low water pressure | Water diverting through a leak | Medium |
| Wet soil or pooling outside the foundation | Leak near the slab edge | Medium |
Quick At-Home Troubleshooting Steps
- Turn off every fixture, plus irrigation, ice makers, and water softener cycles.
- Photograph the water meter and note the reading.
- Wait 30 to 60 minutes without using any water.
- Check the meter again. Watch the leak indicator (small triangle or dial). If it’s spinning, water is escaping.
- Shut off the water heater’s cold supply valve and recheck. If the meter stops, the leak is likely on the hot side.
- Walk the floors barefoot to feel for warm spots.
- Check toilets with food coloring in the tank to rule out a silent flapper leak.
If the meter keeps moving, it’s time for professional slab leak repair menifee diagnosis. Don’t open concrete based on a hunch.
Step-by-Step Slab Leak Detection Process
Good detection saves money. A precise locate means a smaller access hole, less flooring removed, and a faster repair. Here’s how a proper diagnosis should work.
| Step | What Happens | Tools Used |
|---|---|---|
| 1. Confirm the leak | Document meter movement and usage history | Water meter, utility bills |
| 2. Rule out simple causes | Check toilets, irrigation, appliances, softener | Visual inspection, dye tests |
| 3. Isolate hot vs. cold | Close valves to narrow the affected line | Shutoff valves, gauges |
| 4. Pressure test | Measure static pressure and pressure drop | Pressure gauges |
| 5. Pinpoint location | Listen and scan through the slab | Acoustic listening devices, thermal imaging |
| 6. Confirm with moisture data | Map wet flooring and baseboards | Moisture meters |
| 7. Explain findings | Share confidence level and access plan | Written estimate |
On many calls, the leak sits right under the most expensive spot in the house: a kitchen island, a tiled shower, or custom hardwood. That’s why the access plan matters as much as the locate.
Questions to Ask Before Approving Work
- Is the detection fee credited toward the repair?
- How confident are you in the exact location?
- What happens if the leak isn’t exactly where expected?
- Will you pressure-test after the repair?
- Who handles concrete, flooring, and drywall restoration?
When you’re comparing quotes, make sure the contractor holds an active California license. You can check any contractor through the California Contractors State License Board license lookup. Clear answers to these questions are the mark of honest slab leak repair menifee work.
Repair Options: Spot Repair vs. Reroute vs. Repipe
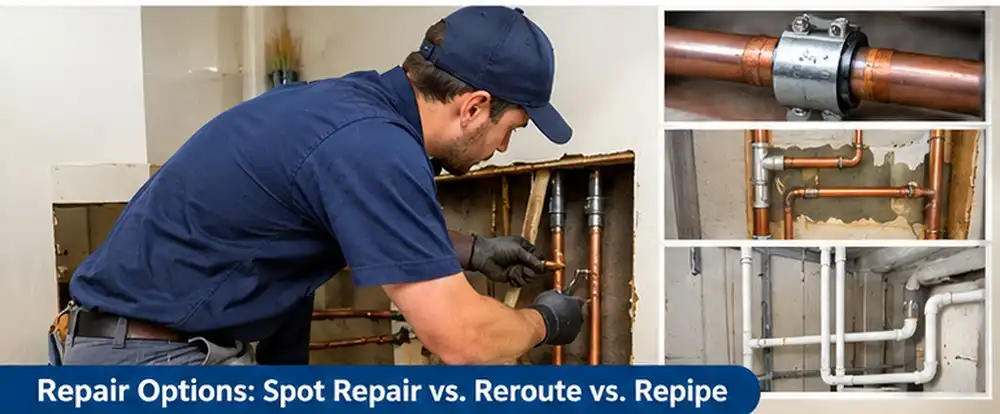
There are three main paths. The right one depends on pipe condition, leak location, and what’s on top of the slab.
| Option | How It Works | Best Fit | Disruption | Long-Term Reliability |
|---|---|---|---|---|
| Direct spot repair | Break concrete, cut out bad section, splice in new pipe, re-pour | One isolated leak, pipe otherwise sound | High at one spot (floor and concrete) | Fair. Other sections may fail later |
| Single-line reroute | Abandon the slab line and run new pipe through walls or attic | Leak under expensive flooring or hard-to-reach area | Moderate (small wall/ceiling openings) | Good. Line is now accessible |
| Partial repipe | Replace a whole branch, often all hot lines | Multiple leaks or one vulnerable branch | Moderate to high | Very good |
| Whole-house repipe | Replace all supply lines, usually with PEX or new copper | Repeated failures, widespread corrosion | Highest | Excellent |
| Epoxy pipe lining | Coat the pipe interior | Limited cases only | Low | Varies. Ask about warranty and code acceptance |
Pros and Cons at a Glance
Spot Repair
- ✅ Smallest plumbing scope
- ✅ Keeps the original pipe route
- ❌ Requires jackhammering through the slab
- ❌ Doesn’t address the age of remaining pipe
Reroute (often with PEX)
- ✅ Avoids tearing up finished floors
- ✅ New line is serviceable in the future
- ❌ Needs wall or ceiling openings
- ❌ Longer pipe runs may slightly delay hot water
Repipe
- ✅ Resets the whole system
- ✅ Ends the cycle of repeat slab leaks
- ❌ Highest upfront cost
- ❌ More drywall patching and painting
For leak detection and pipe repair at any scale, see our leak detection and pipe repair page. Our honest rule: if this is your second slab leak, a reroute or repipe usually beats another spot repair. Weighing those trade-offs is the heart of good slab leak repair menifee planning. One leak is bad luck. Two is a pattern.
Slab Leak Repair Cost Comparison
We believe in transparent pricing. The ranges below are planning estimates based on published 2026 market guides and Southern California conditions.

They aren’t quotes. Finished-floor access, emergency timing, and restoration can push a project well beyond the plumbing cost.
| Service | Estimated Cost Range | What Changes the Price |
|---|---|---|
| Leak detection | $150 to $500 | Number of lines, equipment, complexity |
| Accessible pipe repair (wall or garage) | $250 to $850+ | Pipe material, wall access |
| Spot slab repair | $630 to $4,400 nationally; local jobs can reach $6,000+ | Concrete depth, flooring type, build-back |
| Single-line reroute | $600 to $4,000+ | Route length, wall/ceiling openings |
| Partial or whole-house repipe | $4,000 to $15,000+ | Home size, fixtures, permits, drywall |
| Water damage drying | Quoted separately | Square footage, materials affected |
| Flooring and concrete restoration | Quoted separately | Tile, stone, hardwood, cabinetry |
What a Written Estimate Should Separate
| Line Item | Why It Matters |
|---|---|
| Detection | Avoids paying twice if fees aren’t credited |
| Plumbing repair | Defines the actual pipe work and testing |
| Access | Often the biggest source of cost |
| Drying/mitigation | Plumbing repair doesn’t dry wet materials |
| Build-back | Concrete, flooring, drywall, paint |
| Permits | Who pulls them and who pays |
| Warranty | Parts, labor, and exclusions |
What Drives Costs Up
- Delay. Every day adds water to soil, subfloor, and walls.
- Premium flooring. Stone and custom tile cost more to remove and match.
- Leak depth. Lines buried deeper need more concrete removed.
- Mold growth. Adds containment and removal steps.
- Repeat failures. Paying for multiple spot repairs adds up fast.
The cheapest slab leak repair menifee estimate isn’t always the best value. The best estimate explains the evidence, the access plan, and what’s excluded.
Materials: Salvage vs. Replace Guidelines

Not every wet material must go. The decision depends on material type, how long it stayed wet, and how fast drying starts. Slab leaks usually involve clean supply water, which helps salvage odds if you act quickly.
| Material | Caught Early (Under 48 Hours) | Long-Term Leak (Weeks) |
|---|---|---|
| Ceramic/porcelain tile | Salvage tiles outside the access area | Check for loose tiles and grout damage |
| Natural stone | Salvage if carefully removed | Staining likely; may need replacement |
| Hardwood flooring | Often salvage with floor drying mats | Cupping or buckling usually means replace |
| Laminate flooring | Usually replace (core swells) | Replace |
| Luxury vinyl plank | Often salvage after lifting and drying | Check for trapped moisture and mold |
| Carpet | Salvage | Case by case |
| Carpet pad | Often salvage if dried fast | Replace |
| Baseboards (MDF) | Usually replace | Replace |
| Baseboards (solid wood) | Salvage | Case by case |
| Drywall | Dry in place | Cut out above the wick line |
| Particleboard cabinets | Often replace (swells) | Replace |
| Concrete slab | Dry in place; patch access hole | Dry fully before new flooring |
Pro tip: Photograph everything and keep samples before materials are removed. Your adjuster may want proof of type and condition. Planning salvage early is a hidden money-saver in slab leak repair menifee projects. Saved tile is tile you don’t have to match.
Structural Drying Timelines After a Slab Leak
Concrete holds water like a sponge. A slab that’s been wet for weeks can take days to dry even with professional equipment. Installing new flooring over a damp slab invites mold, adhesive failure, and warping.
| Scenario | Typical Drying Time | Key Factor |
|---|---|---|
| Small leak caught early, tile floor | 2 to 3 days | Fast shutoff and extraction |
| Carpet and pad over slab | 2 to 4 days | Pad removal speeds drying |
| Hardwood over slab | 5 to 14 days | Floor drying mats, careful monitoring |
| Drywall and baseboards | 3 to 5 days | Wall cavity airflow |
| Long-term leak, saturated slab | 5 to 10+ days | Concrete releases moisture slowly |
| Cabinets over a leak | 3 to 7 days | Toe-kick removal for airflow |
Equipment Used in Drying
| Equipment | Purpose |
|---|---|
| Air movers | Pull moisture from surfaces |
| LGR dehumidifiers | Remove moisture from the air |
| Floor drying mats | Draw water up through hardwood |
| Wall cavity injectors | Dry inside walls with small holes |
| Moisture meters | Confirm materials hit dry standard |
Drying Checklist
- Shut off water and complete the pipe repair first
- Pressure-test the new line before closing anything up
- Remove wet pad, baseboards, and toe-kicks to open airflow
- Run dehumidifiers to keep indoor humidity below 60%
- Measure moisture daily and keep written logs
- Confirm the slab is dry before installing new flooring
Drying is the step most homeowners forget to budget. Complete slab leak repair menifee planning should cover both the pipe and the water it left behind.
Insurance and NFIP Claim Steps for Slab Leaks

Insurance is where many homeowners get surprised. A slab leak is a plumbing failure, not a flood. The National Flood Insurance Program (NFIP) covers water entering from the ground up, such as flash floods or overflowing waterways. It generally does not cover water from a broken pipe inside your home.
Your homeowners policy is usually the right place to start. Coverage often splits into three parts:
| Item | Often Covered? | Notes |
|---|---|---|
| The failed pipe itself | Often not | Many policies exclude wear and tear |
| Access (tear-out) to reach the pipe | Often yes | Check your policy language |
| Resulting water damage | Often yes if sudden | Long-term or repeated leaks may be denied |
| Mold damage | Limited or excluded | Many policies cap or exclude mold |
| Rerouting or repipe | Varies | Usually the homeowner’s cost |
| Flood damage (NFIP) | Only for true flood events | Not for plumbing leaks |
Your Claim Checklist
- Stop the water. Insurers expect you to prevent further damage.
- Photograph and video the meter, wet areas, and damaged flooring.
- Save water bills showing the usage spike.
- Call your insurer before removing major materials, without delaying emergency shutoff.
- Keep material samples and the removed pipe section if possible.
- Request written estimates with separate line items for plumbing, access, drying, and build-back.
- Keep all invoices and drying logs.
- If your home also suffered true flood damage, file a separate NFIP claim if you carry flood coverage.
Clear documentation turns a stressful claim into a manageable one. Detailed records are part of every slab leak repair menifee job we’d recommend. Paperwork protects your payout.
FAQs
Can a slab leak damage my foundation?
It can. Water under a slab can wash out or swell soil, leading to cracks and uneven floors. The longer it runs, the higher the risk.
Can you find a slab leak without breaking concrete?
Usually, yes. Acoustic, thermal, and pressure testing can narrow most leaks to within a few feet. A small access hole is still needed for a direct repair, unless you choose a reroute.
How long does slab leak repair take?
The plumbing repair often takes one day. Drying, inspections, and flooring restoration can stretch the full project to one or two weeks.
Does a high water bill always mean a slab leak?
No. Irrigation, running toilets, and rate changes can cause spikes. The meter test tells the real story.
Why is my water heater running all the time?
A hot water slab leak forces your heater to keep reheating fresh water. That wears out burners, elements, and tanks early. After the leak is fixed, have the unit checked through our water heater repair service.
How much water can a hidden leak waste?
A lot. According to EPA WaterSense, household leaks can waste nearly 10,000 gallons a year, and about 10% of homes have leaks wasting 90 gallons or more per day.
Should I repair or repipe?
If your copper is original and this is your first leak, a spot repair or reroute is often fine. If it’s a repeat failure, a partial or whole repipe usually saves money long term.
The Bottom Line
Slab leaks hide well, but they always leave clues: a spinning meter, a warm floor, or a heater that won’t rest. Confirm the leak, insist on precise detection, and compare spot repair, reroute, and repipe honestly. Then budget for drying and build-back so the fix is truly finished.
If your meter is moving right now, shut off your main valve and call (844) 611-2779. We’ll help you get a clear diagnosis and a written plan before anyone picks up a jackhammer.



2 Comments